
Mastering the Art of Campervan Conversions with Bamboo
ßEmbracing the Van Life
Dreaming of waking up to a view like the one above? You’re not alone. The allure of the campervan lifestyle has surged in the UK, with a 71% increase in registrations in July 2020 compared to the previous year. This rise in popularity has been particularly noticeable among families new to the world of campervans and motorhomes.
The pandemic has underscored the unique freedom these mobile homes offer, providing a safe haven for respite and relaxation. If you’re venturing into van life for the first time, you’re joining a vibrant community with a wealth of knowledge to share. While there’s loads of advice on choosing the right vehicle, let’s delve into tips for crafting the perfect interior and infrastructure for your mobile abode.
Insulation Is Key
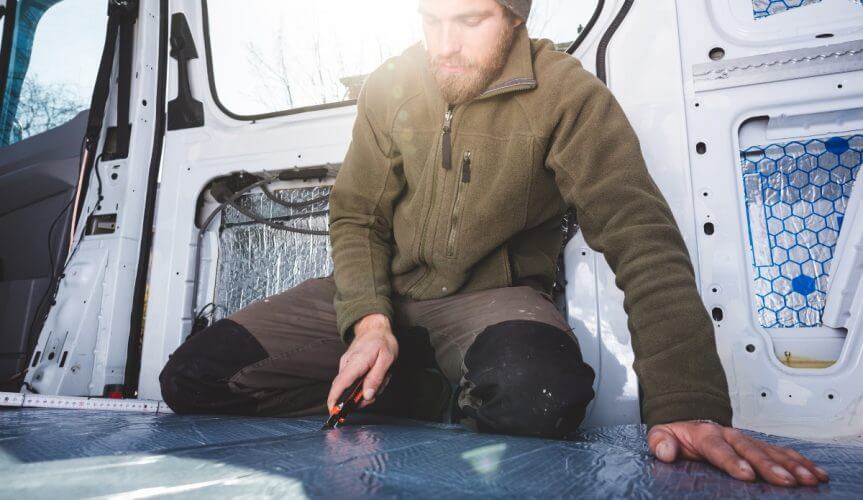
Maintaining a comfortable temperature in your campervan is essential for a cosy living space. Poor insulation can lead to discomfort, with temperature fluctuations from chilly mornings to sweltering afternoons. To combat this, invest in adequate insulation using a variety of materials. Pay attention to areas prone to heat transfer, such as wheel arches and metal ribs along walls and ceilings. Incorporating a vapour barrier into your insulation setup is also crucial.
Creating proper airflow within the van is equally important. Consider installing a skylight, side windows, and vents to prevent condensation build-up. Websites like Gnomadhome.com and Climbingvan.co.uk offer detailed guidance on insulation techniques and proper ventilation, including UK material suppliers.
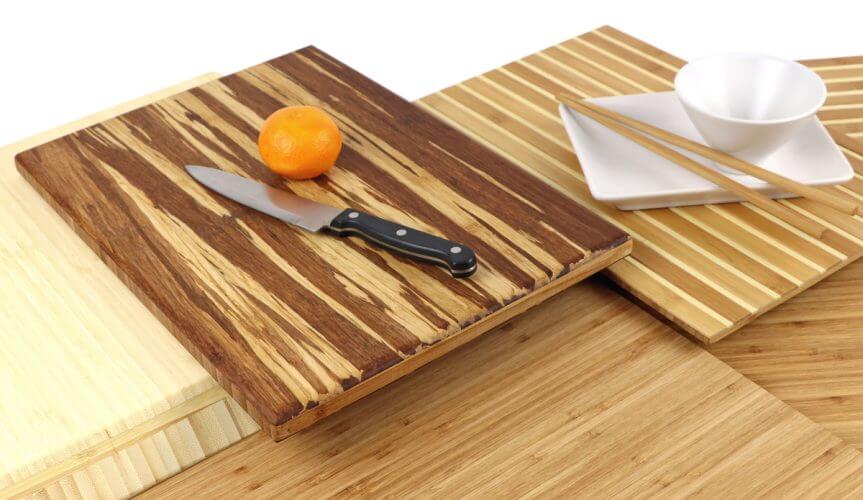
Bamboo: A Versatile Interior Solution
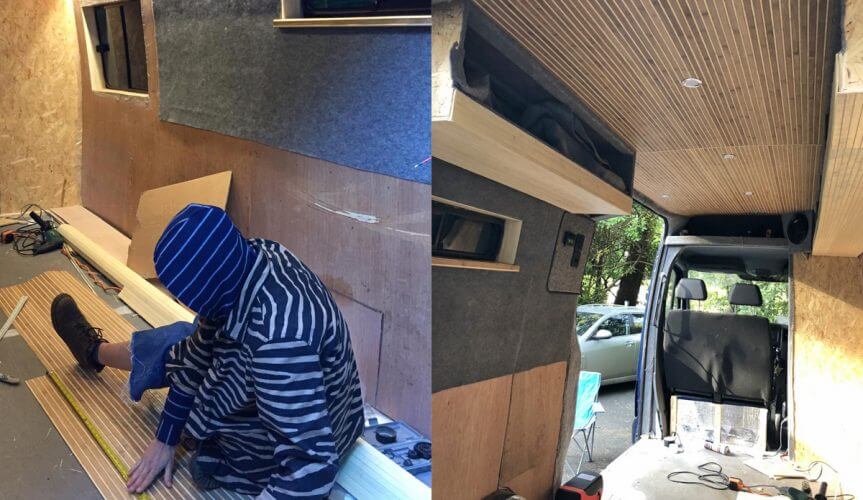
Personalise your camper vans interior by utilising bamboo wall panels for ceilings and walls. Unlike traditional timber cladding that adds weight and reduces headspace, flexible bamboo panelling offers a sleek and lightweight alternative. These thin bamboo slats (2.5mm thick), adhered to a fabric mesh backing, easily conform to the curves of your van’s ceiling.
Bamboo cladding is not only quick and cost-effective but also versatile. Use it to refresh cupboard fronts, kitchen doors, and other surfaces within your van. Whether you opt for the warm hues of Autumn Wheat or the clean lines of Vanilla Stripe, bamboo adds a touch of eco-luxury to your mobile home.
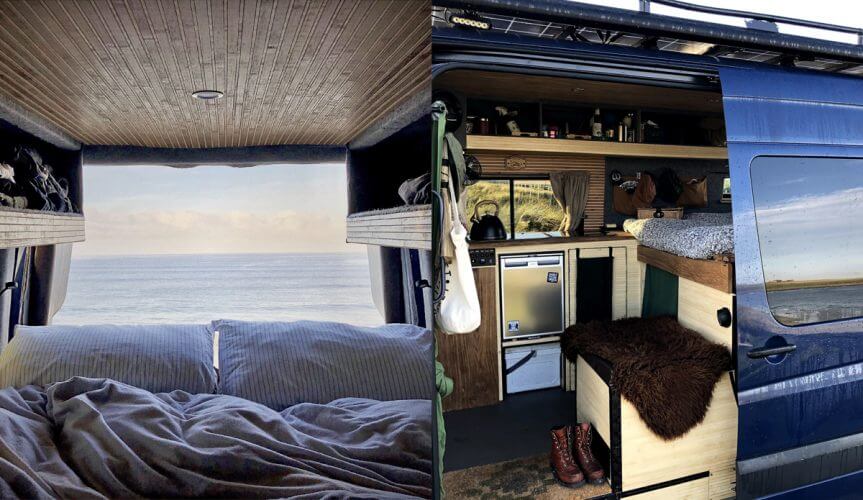
Essential Comforts for Life on the Road
When choosing your model of base vehicle you would have already decided the amount of facilities to have. If you do want a toilet and shower, then one of the most spacious vans to convert is a Mercedes Sprinter with a long wheel base.
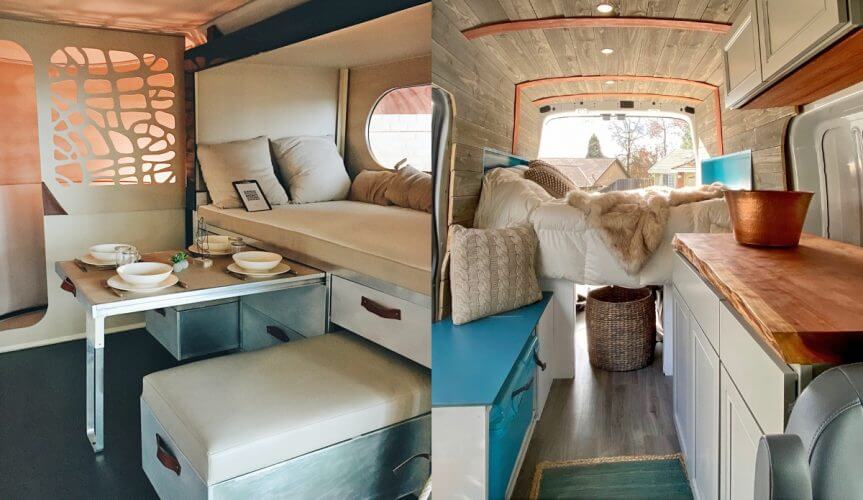
All vans will have worktop space to sit a camping stove on top, but why not install a purpose made hob, such as the one in the photo below. If you include a small sink too, then a tap with a rinsing nozzle and a chopping board insert is a must.
When selecting your base vehicle, consider the amenities that align with your lifestyle. For those desiring a toilet and shower setup, a spacious Mercedes Sprinter with a long wheelbase offers ample conversion potential. Enhance your kitchen space with purpose-built hobs and sinks featuring practical additions like tap rinsing nozzles and chopping board inserts.
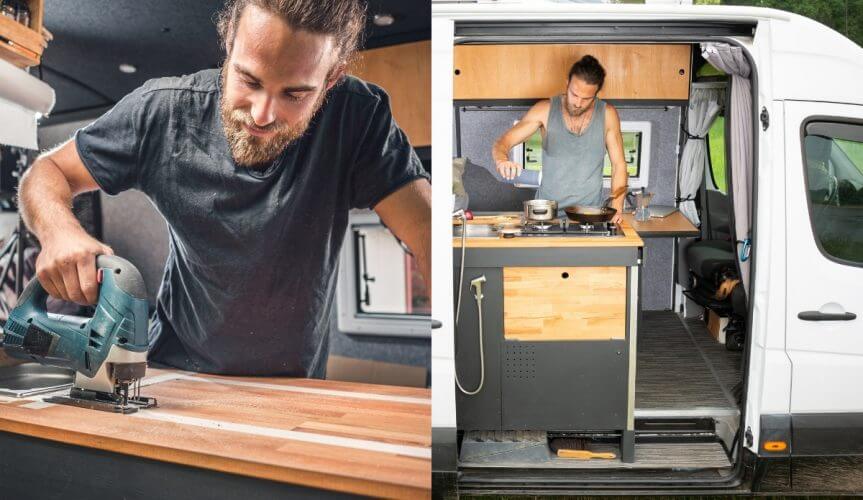
Refreshing an existing campervan? Bamboo plyboard worktops and cupboard fronts provide a stylish update. Durable yet elegant, 20mm High-Density Tiger board serves as an ideal tabletop for meal prep or dining on the road.
Maximising Storage Efficiency
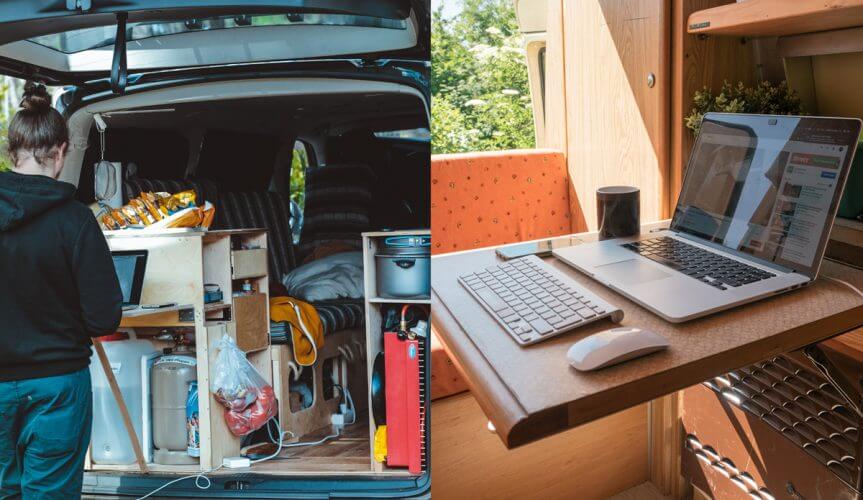
Efficient storage solutions are essential for a clutter-free living space, especially if you’re bringing your office on the road. Consider hinged worktops for expanded prep areas and cleverly designed flip-out or slide-out surfaces for laptops. Bamboo plyboards, available in various thicknesses, provide sturdy support for your workspace.
The ‘garage area’ or under-bed storage is a common feature in campervan conversions. Elevating your bed allows space for essentials like gas canisters, batteries, and water storage. This area also accommodates outdoor gear and spare supplies, ensuring a tidy and organised living space.
These four tips lay the groundwork for a functional and stylish campervan conversion. Ready to embark on your adventure? Check out these resources for further inspiration:
Looking for some inspiration before you get started, here’s Vanlife Conversions highlights from 2023: https://www.youtube.com/watch?v=pnwRphw6iJU&t=22s
Explore Innovative Designs: https://www.vanlifeconversions.co.uk/
Upgrade with Bamboo Plyboards: https://www.ukbamboo.com/shop/product-category/bamboo-boards/
Elevate Your Space with Bamboo Wallpaper: https://www.ukbamboo.com/shop/product-category/bamboo-wall-panelling/
Here’s to the beginning of your eco-luxury journey on the road. Bon voyage!